Introduction
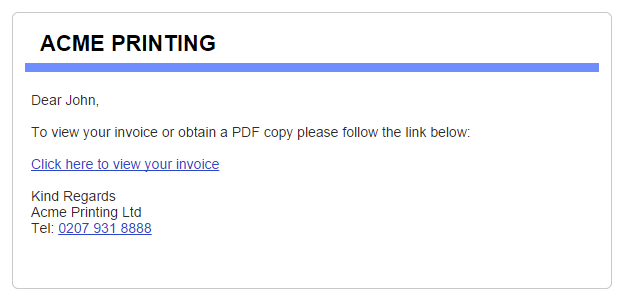
When an e-mail is sent from your account to one of your clients, we embed the text into a simple template that looks something like this:
If you’d prefer to use your own template you can do so by creating some custom HTML. To do this, go to Settings >> System Design >> Advanced CSS & HTML Customisation. Then select Email Wrapper HTML from the left.
Any HTML template you create must include the token @EmailBody@, this is where the text gets embedded into your outbound e-mails.
HTML e-mail best practices
HTML e-mails can appear slightly different depending on your recipient’s e-mail client. The general consensus when it comes to producing HTML for e-mail is to keep all your styles in-line (i.e. no external CSS), build structure using tables, and keep the width within 800px.
For more best practices we’d recommend that you take a look at the MailChimp guide here.
Example 1: Change the header bar colour and thickness
It is possible to make minor adjustments to the default template such as changing the colour and thickness of the header bar. This particular template comes with an option to import the default HTML.

Once you have imported the default HTML you then go about editing it to suit your purpose. In the below example we’ve doubled the border thickness and changed its colour to red.

Example 2: Add your own custom signature
If you want you can incorporate your own HTML signature (including logo) into the default e-mail template. It’s really as simple as appending the custom HTML to the default template (as shown below) or a completely new template.

If you decide to incorporate a signature into your own e-mail template, bear in mind that many of the default e-mail templates also include a signature. In order to avoid duplicating your signature please modify your e-mail templates in Account Settings >> Routine Emails and remove the @EmailSignature@ token.