QuickFile makes it easy to customise the design and layout of your sales invoices and estimates. You can upload your company logo, add/remove certain fields, configure numerous layout preferences and setup your own default notes and payment terms.
To start customising your invoice click on the ‘Account Settings’ menu header then select the option ‘Invoice customisation’.
Your company logo
You can upload your company logo, this will automatically appear in the top right hand corner of the sales invoice. Be sure to use a high resolution image to avoid any pixilation when the invoice is downloaded to PDF format and printed.

Invoice labels
The invoice labels reside in the top portion of the invoice and can be hidden or shown to reveal certain information. You can tick the items that you would like to appear on your invoices and use the grey arrows to slide them into different positions.

Invoice notes and terms
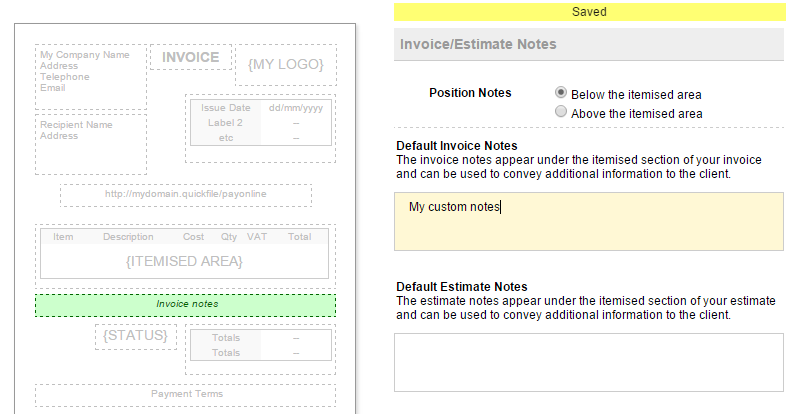
When creating a new sales invoice you may have noticed two areas where you can include specific payment terms or additional notes. To save retyping a default set of instructions for every invoice, you can add a standard set here. These will automatically import to all the new invoices you raise on QuickFile.
You also have the option here to set specific notes and terms for estimates too.
The invoice style gallery
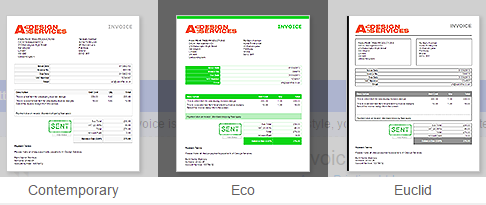
Along with the settings on this page you can also navigate to any sales invoice or estimate and apply one of the preset styles in the gallery.


Changing the design of the client area
Don’t forget you can also take full control over the design and layout of your customer client area. You will find these options in Account Settings, under Design customisation.
