Introduction
QuickFile has the capability to host a fully branded client area using your unique QuickFile domain (mydomain.quickfile.co.uk). The client area will allow your clients to view all their invoices, access a statement of their account, print their documents, and pay online. It also has a built in estimate preview and accept/decline feature, this is useful if you business is frequently providing quotes.
To configure the appearance of your client area select the “Account Settings” option in the top menu followed by “Design Customisation”. Now select the option “Client Area Customisation”.
The client area designer
The Client Area Designer is a simple tool to start customising your client area.
Within this area you can:
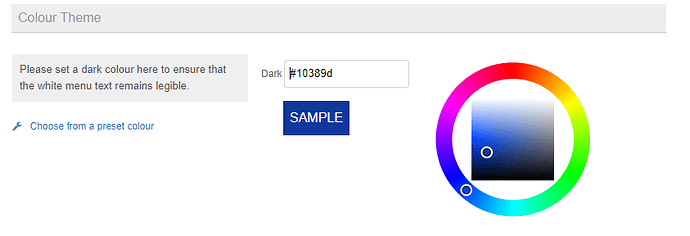
Set your own colour scheme
Upload your own company logo
Match up your colour scheme to your own corporate branding.
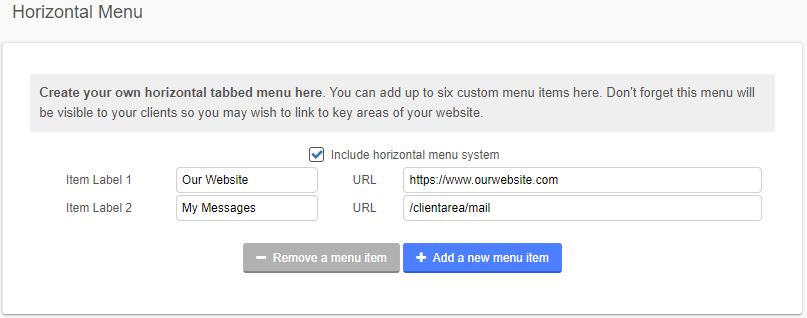
Build a custom horizontal menu
You can use this feature to add links directly to your own website or customer management system.
Drop in some footer text
The menu system can be configured to add links that will enable your staff and clients to jump between QuickFile and your company website. Don’t forget to test your menu links once you have saved your changes!
Where can I see my changes?
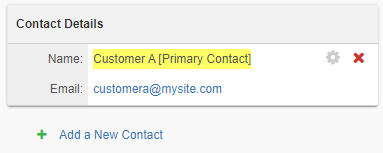
You can Impersonate any of your saved clients from the respective client detail screen. This will allow you to simulate their experience when they access your client area. The client area will only be accessible for those clients who have a saved contact, I.e. contact name and e-mail.

To access the client area, just click the “Impersonate Client” at the top of the page:

Customising your Invoices
Don’t forget you can also customise the design and layout of your sales invoices. We have a guide on this here:
Advanced Customisation Tools
If you would like more granular control over the appearance of your client area and you are confident in CSS and HTML, you can directly edit the base templates using the Advanced Customisation Tool-set.


