Introduction
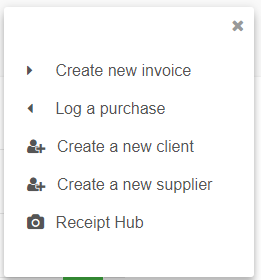
Purchases are the day-to-day expenses incurred by your business. For every receipt you receive as a business you will want to keep a corresponding purchase record in QuickFile. You can then reconcile these with your bank statement later down the line.To start logging a new purchase, simply click on the “+” button on your QuickFile main Dashboard and then select “Log a purchase”:
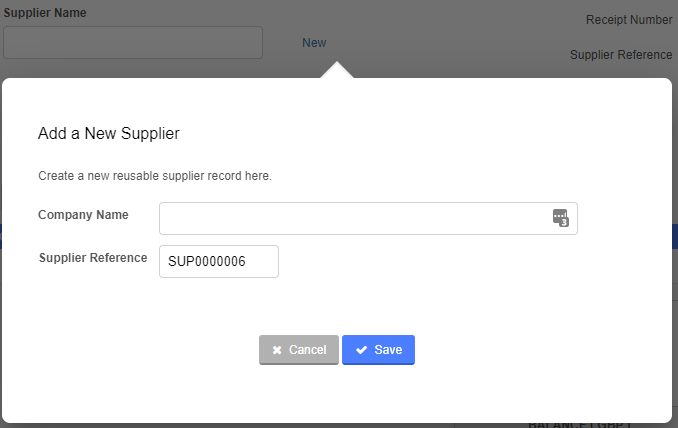
You will now see a page where you can enter all the details relating to your purchase. You can start by selecting a pre-existing supplier or you can create a new supplier on the fly.
To create a new supplier all you need to do is enter the company name. You can add all kinds of additional information later within your supplier area.
Receipt Date and Due Date
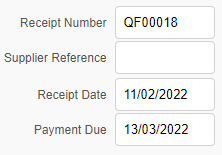
In the top right-hand corner of the screen you will see a number of fields where you can enter the “Receipt Date” and the “Due Date”. When you select the “Receipt Date”, the “Due Date” will automatically update based on the number of days within which this supplier has stipulated that their invoices must be paid and this is referred to as the term. You can change the term within your supplier settings or you can also manually override the “Due Date” if necessary.
Adding Items to your purchase
You can now start adding the items to your purchase. You can enter a description of the purchase, category, net/gross amount, along with any VAT where applicable. Pay careful attention to the category as this will be used by your accountant later when filing your accounts.
You can add multiple lines where necessary by clicking the green plus icon. You can also shuffle the order of the items around using the blue handle.

Getting help categorising your purchases
On your purchase entry form you will see a button (as illustrated below) that allows you to obtain help categorising your purchase.
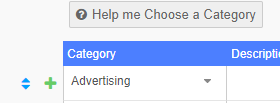
QuickFile have compiled a list of 100s of products and services. You can search the list and obtain the recommended category under which to file your item. If you are still in doubt as to what category to use you can always make a post on our community forum. The forum is frequented by accountants and bookkeepers who may be able to assist further.
Be sure also to take a look at our guide for tips and advice for categorising your purchases .
Logging a payment against your purchase
A purchase may have a corresponding receipt to show that it has been paid. If you purchase a bottle of water from a local supermarket then the purchase invoice and payment confirmation are delivered instantly in the form of a paper till receipt. You can therefore enter the payment details in-line with the purchase invoice.

The payment does not need to cover the full amount of the purchase and additional amounts can be logged later. For any payment you will need to nominate the bank account from which the payment will be made and a bank transaction corresponding to the payment amount entered will automatically be created here.
Save and Preview
Once you have entered all the relevant information for your purchase you can save and preview the purchase invoice. Additional future payments may be entered from the preview screen along with any associated refunds or credit notes.
Bulk invoicing
If you need to enter a whole list of invoices in one go then be sure to check out our multi-invoice tool here.

Foreign currency purchases
QuickFile also offer full support for foreign currency purchases. You can read more about our multi-currency tools here .
Attach files to your invoices
Once you have created your purchase invoice you can also attach files to the purchase record. This is useful if you want to retain a copy of the original receipt/invoice that was issued with your purchase.
You can either attach a file already in the Document Management Area or you can upload a new one. You will find these options at the foot of the invoice preview screen.
