Introduction
This guide shows how to record on QuickFile business mileage travelled in your own car, and paid from your own personal funds.What counts as business mileage?
Business mileage is mileage you travel whilst doing your job. It can include travel to a temporary work place but it doesn't include: - Normal travel between home (or anywhere that is not a workplace) and your permanent workplace - Private travel - You can normally reclaim a fixed amount per mile for approved business mileage. You can view the latest rates and allowances on the [GOV.UK][1] website.Step 1: Create New Supplier
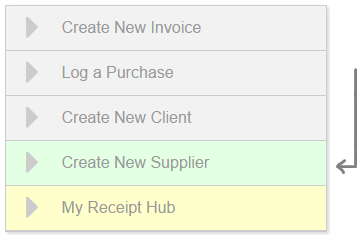
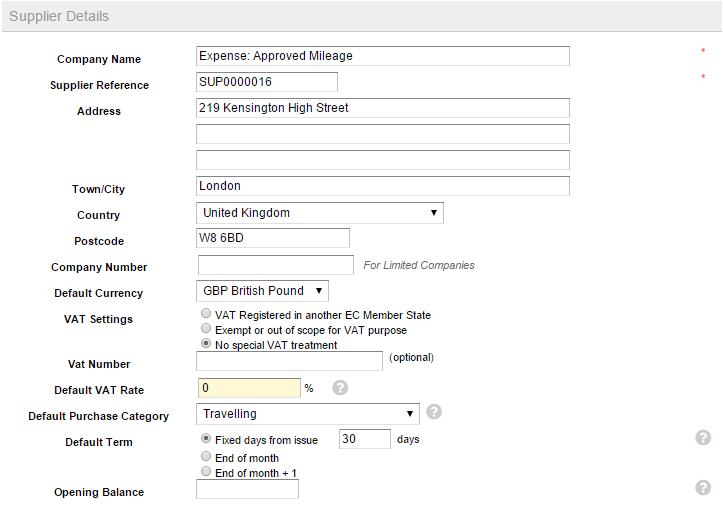
First, create a new supplier called 'Expenses - Approved Mileage'. This will serve as a container to which you can attribute all your approved mileage expenses. With QuickFile it’s simple to add all your suppliers, you can include vital contact information such as their address, e-mail, and telephone number along with additional information relating to VAT status, bank details, and payment terms.To add a new supplier, just click on the large button ‘Create New Supplier’ within the main Dashboard. If you prefer, you can also add a new supplier on the fly while creating a new invoice.

Make sure to set the ‘Default VAT Rate’ to ‘0’ and ‘Purchase Category’ to ‘Travelling’.
Step 2: Create new purchase invoice
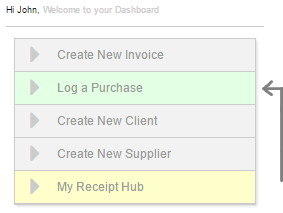
To log the mileage expense, simply click on the ‘Log a Purchase’ button on your QuickFile Dashboard.
You will now see a page where you can enter all the details relating to your purchase. On your new purchase invoice form, select the supplier that you created in stage 1.
In most cases we want to log our approved mileage periodically, and just before the year-end would be a good time to do this. You can log a single purchase invoice for every single journey but this guide will assume you’re doing it in bulk. Another thing you can do is just keep editing and updating a single purchase invoice throughout the year, kind of like an open ledger.
Adding items to your purchase
You can now start adding the details for your business mileage expense to be claimed. You can enter a description of the purchase, category, net/gross amount, along with any VAT where applicable. Pay careful attention to the category as this will be used by your accountant later when filing your accounts, keep the category set as 'Travelling', it should automatically select this option based on the supplier specific default.Add each journey on a separate line. Be sure to state the following details in the description field:
- The reason for the journey
- The date of the journey
- The number of miles travelled
- The rate reclaimed (e.g. 45p). You will refer to the current HMRC rates for approved mileage
As previously stated, you can add new lines for each journey as and when you need to. That way you’re maintaining a record of all your approved mileage through the year.
In Stage 3 we will discuss how this invoice is closed off.
Step 3: Paying the invoice
OK, now the invoice will show on your books as unpaid. Before running your year-end you may want to close this invoice off. Where the invoice is paid from depends on your trading status, here are a few examples:Limited Companies
As a Limited Company you would typically pay this invoice from the Directors' Loan Account, this account can serve as a means to track what money the company owes the director(s) at any given time. Paying the expense invoice created in stage 2 from the Directors' Loan Account creates a negative balance in the account. An overdrawn Directors' Loan Account indicates a liability that the company has to its director(s).Now, when you want to reimburse these expenses to your personal account, you can withdraw the funds from your company’s Current Account and tag it as a transfer to the Directors’ Loan Account, thus balancing out the entry made when paying the mileage expense invoice.
